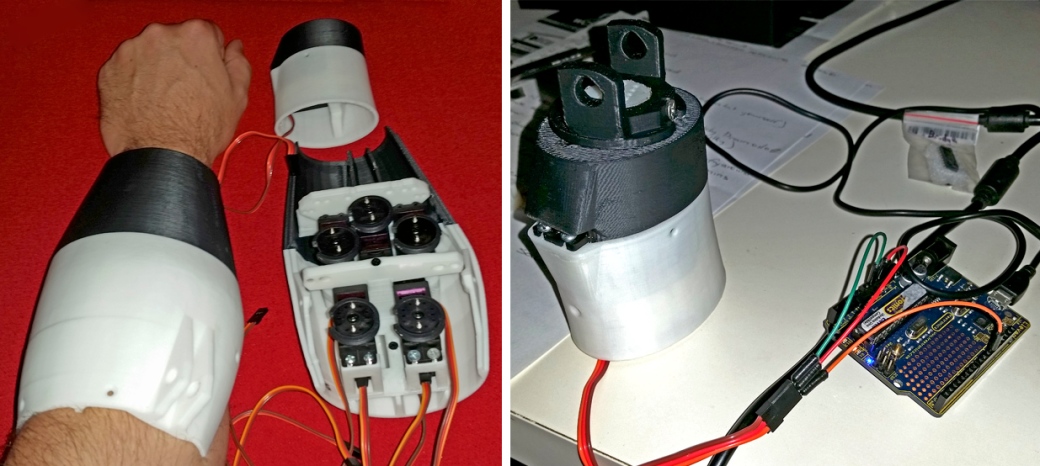
The 6 servo’s needed to build the InMoov robotic arm/hand arrived since my previous InMoov post, and are now installed and working individually. All up they cost about $35AUD on Ebay. The Meshmixer hack for the stands I discussed in the last post also worked quite well, and luckily no other stands to mount the servo’s have needed re-printing – just a few spots of super glue to prevent any minor splitting between the printed layers. This means that most of the assembly of the arm and wrist is now complete, other than running all the lines to control the fingers (a big job I’m not looking forward to). Below is a video of the wrist movement using a MG 996 servo – sounds like it means business!
Nothing particularly exciting just yet, although it’s nice to see the InMoov showing the first signs of life (Frankenstein anyone?). As you can see I’ve connected this servo to an Arduino Uno, and am manually controlling the movements using Grasshopper and Firefly, both plugins for Rhino 3D CAD software. I’m not sure if any other InMoov makers have done this, but if you’ve followed my blog for a while you’ve probably seen previous demonstrations of how you can use what is essentially a 3D CAD program to control the Arduino in real-time, something I’m very excited about. I certainly aim to continue using this visual programming language (VPL) to interact with the arm, perhaps making it more intuitive and interactive to control. Next step: 3D printing the fingers.
– Posted by James Novak

Pingback: InMoov No Longer InPieces | edditive blog